![Boom Logo White.png]](https://www.bbdboom.com/hs-fs/hubfs/Boom%20Logo%20White.png?height=50&name=Boom%20Logo%20White.png)
Not only can HubSpot organise and file all of your contacts, companies and deal information, it can also help you set-up and send out quotes to your prospects; storing all of this information against that prospects record. To set-up a quote you must be assigned to a Sales Hub seat.
There 7 parts to creating a quote:
- Initial set-up
- Adding the quote details
- Adding the prospects details
- Including your details
- Adding the product(s) involved
- Including signature and payment
- Finally to review
Initial Quote Set-Up:
- Log into your HubSpot portal and locate to Sales > Quotes
- Click Create quote
- Associate the quote with an existing quote by selecting a deal from the drop down menu or create a new deal by clicking Create a new deal
- Continue to follow the instructions below to learn more about adding all the necessary details but at any point click the Save button before clicking Exit for if you needed to come back at another point.
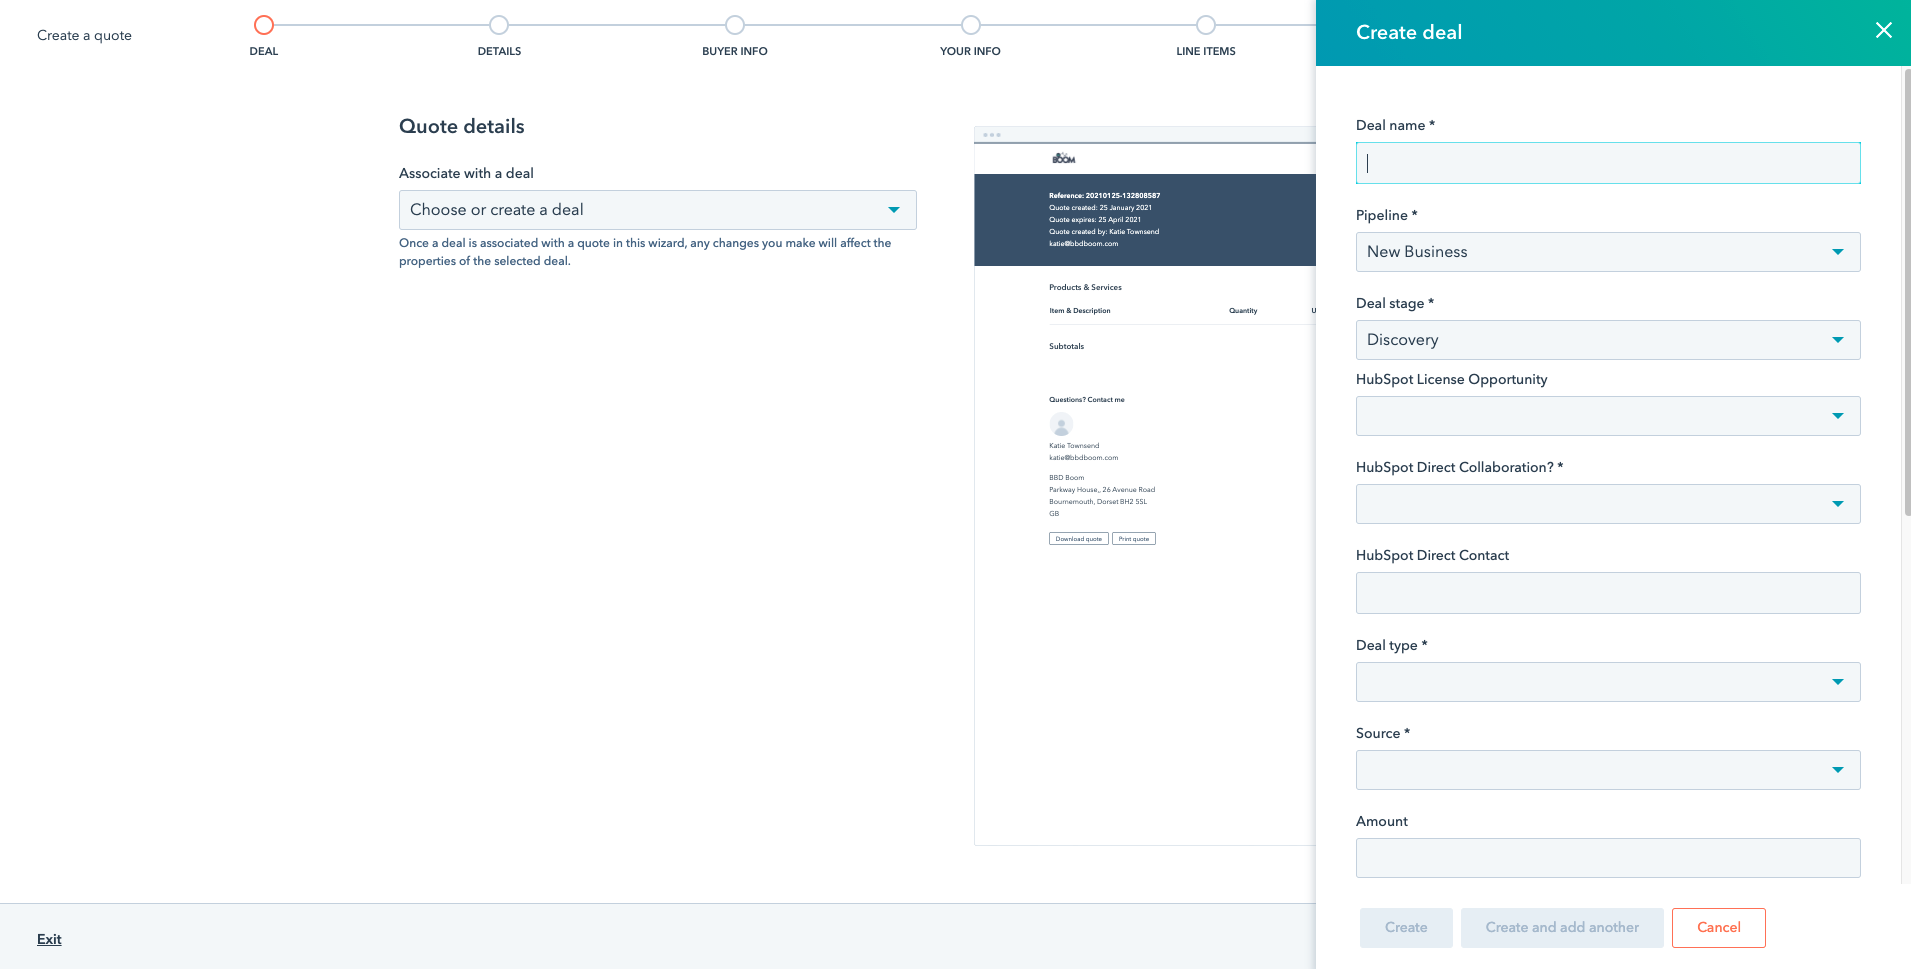
Quote Details:
- Quote Template: Select a template from the dropdown menu
- Quote Name: Give your quote a name that will mean something to yourself and the prospect.
- Expiration Date: Select the time period in which your quote is active for. If a custom time period is not selected, the quote by default will expire after 90 days. After a quote has expired, the contact will no longer be able to view and will have to contact a member of your team for assistance.
- Comments to buyer: Add any additional information that may be useful for the prospect.
- Purchase Terms: Include any rules and regulations that apply to the prospect to ensure the expectations have been met.
Prospect Details:
- Associate the quote with a contact and a company if the automatic association has not already been set.
- Add multiple contacts to your quote if this applies
Personal Information:
- Ensure your contact and company has been associated like the prospect details on the previous page.
- In this section, you can’t associate more than one contact to the quote.
Products:
- Ensure all of your products are already set-up within your HubSpot portal so that you can easily click and add in the product(s) applicable.
- Add the products(s) needed for this quote including the unit price, quantity and total price information.
- Include any discounts, fees or tax to the quote at the bottom by the total.
Signature & Payment:
- Choose from the signature options which best applies to your situation.
- No Signature: There is no signature required for the purchase.
- Include space for a written signature: This requires a handwritten signature on the quote once printed out.
- Use eSignature: Requires a digital signature to purchase. If you choose this option, select which contact you require that signature from.
- If you have a Stripe account, you can integrate this with HubSpot to make the user journey easy for your prospect to purchase instantly.
Review:
- Ensure the quote is in the correct language along with all the details you’ve included within the quote.
- Click the Back button to go back and edit any sections of the quote.
- Once you are happy, click Create quote and you will have the option to include the web link to your quote or to include it within an email to the prospect.